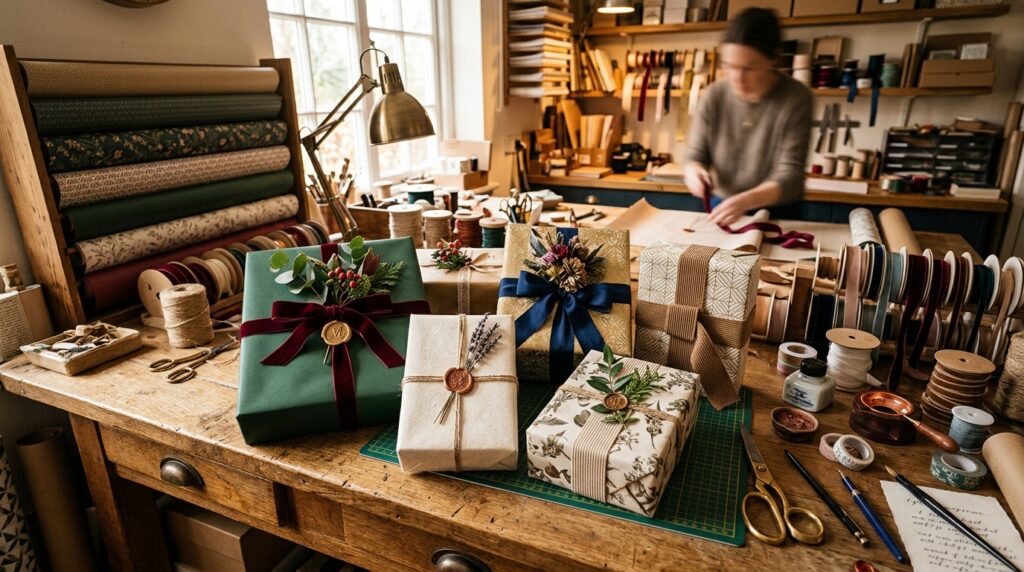

We’ve all seen those presents under the tree or on a party table that look almost too good to open. The corners are sharp enough to cut glass, the ribbon is perfectly buoyant, and there isn’t a single shred of messy tape in sight. You might think, “I just don’t have the ‘gift wrapping’ gene,” but here is a secret: professional gift wrapping isn’t about natural talent—it’s about technique, patience, and the right toolkit.
Whether you’re preparing for a major holiday or a close friend’s birthday, the way a gift is presented sets the tone before the box is even opened. It tells the recipient that what’s inside is precious and that you took the time to make it special. If you’re tired of “mushy” corners and tangled ribbon, these 6 professional-grade tips will elevate your gift-wrapping game from amateur to artisanal.
1. The “Box Flip” Measure: Stop Wasting Paper
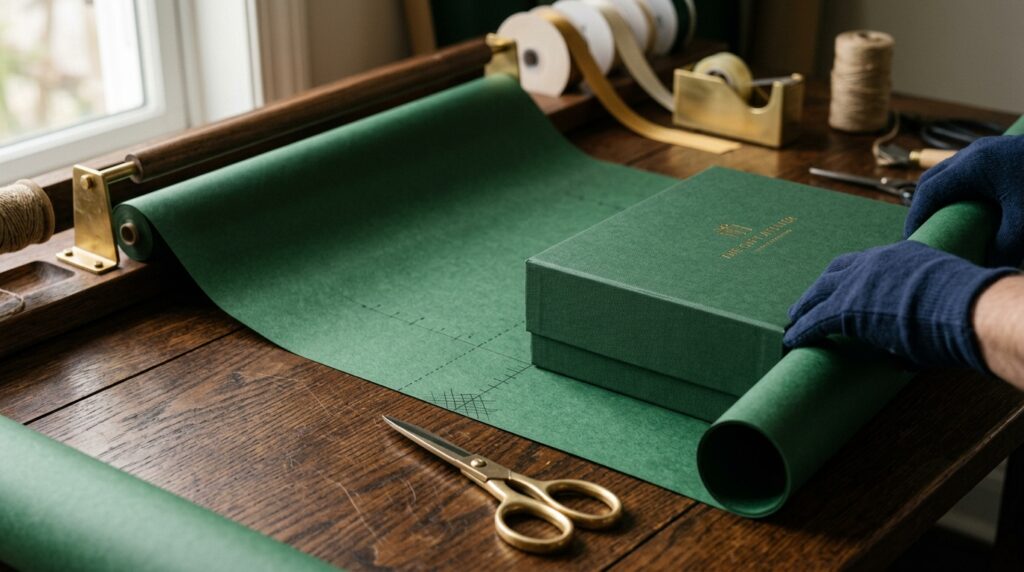
The biggest mistake most people make is using too much paper. Excess paper leads to bulky, folded-over edges that ruin the clean lines of a gift. Pros use the “Box Flip” method to ensure a perfect fit every time.
- The Technique: Place your box on the paper. To measure the length, roll the box over four times (one for each side). To measure the width for the ends, ensure the paper comes up just about three-quarters of the way up the side of the box.
- The Pro Secret: If the paper reaches all the way to the top of the side flap, it’s too long. Trim it so it covers most of the side but doesn’t overlap the top edge. This prevents that awkward “bunching” at the corners that makes a gift look messy.
2. Double-Sided Tape is Your Best Friend
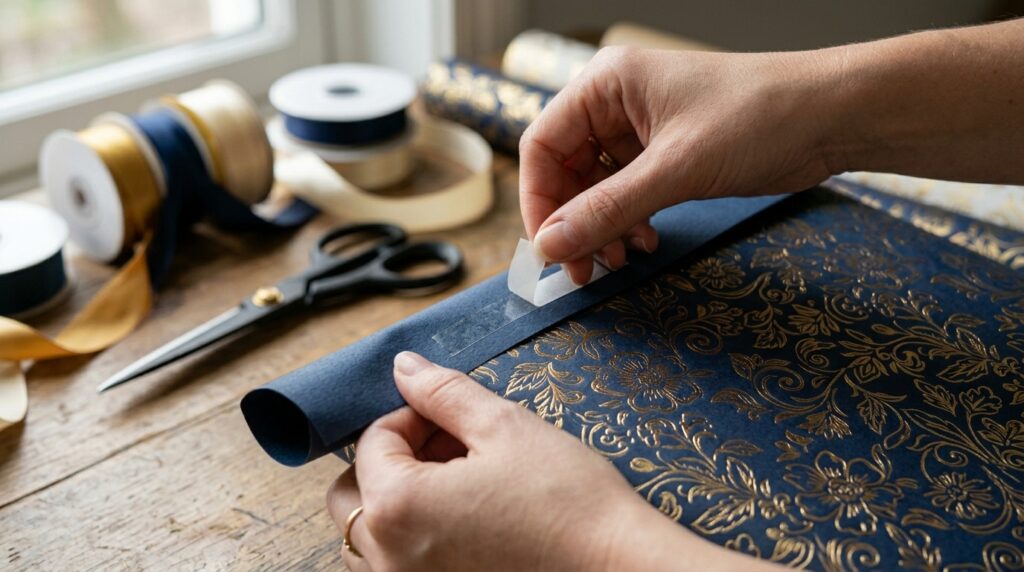
If you want your gifts to look high-end, the tape should be invisible. Professionals almost never use standard “shiny” tape on the outside of a package. Visible tape is the quickest way to make an expensive wrap job look DIY.
- The Technique: Use high-quality double-sided tape on the underside of the paper’s edge. This allows you to “seamlessly” seal the gift without any plastic film reflecting the light.
- The Pro Secret: When finishing the main seam, fold the top edge of the paper under by about half an inch to create a clean, finished “hem” before taping it down. This hides the raw, potentially jagged cut of the paper and creates a perfectly straight line down the back of the box.
3. Achieve the “Crispy” Edge
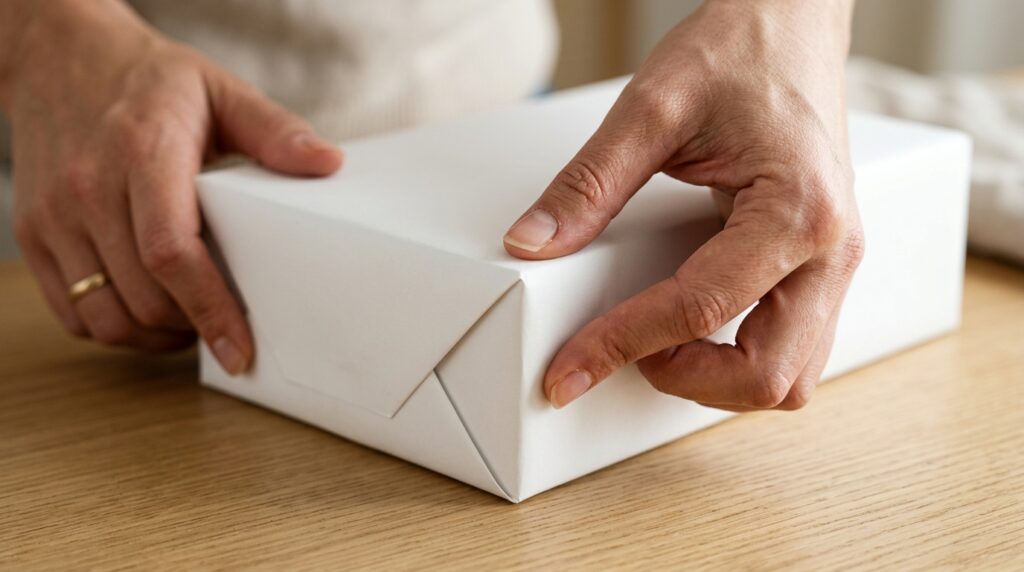
Ever notice how pro gifts look like solid blocks? It’s because they “finger-press” the edges. Paper has a “memory,” and you need to train it to sit flat against the cardboard box.
- The Technique: Once the gift is wrapped, run your thumb and index finger along every single edge of the box, pinching the paper against the cardboard.
- The Pro Secret: This creates sharp, architectural lines that catch the light and make even cheap paper look like expensive, heavy-duty wrap. It removes the “air” between the box and the paper, giving it that high-end, vacuum-sealed look.
4. The 45-Degree Side Fold
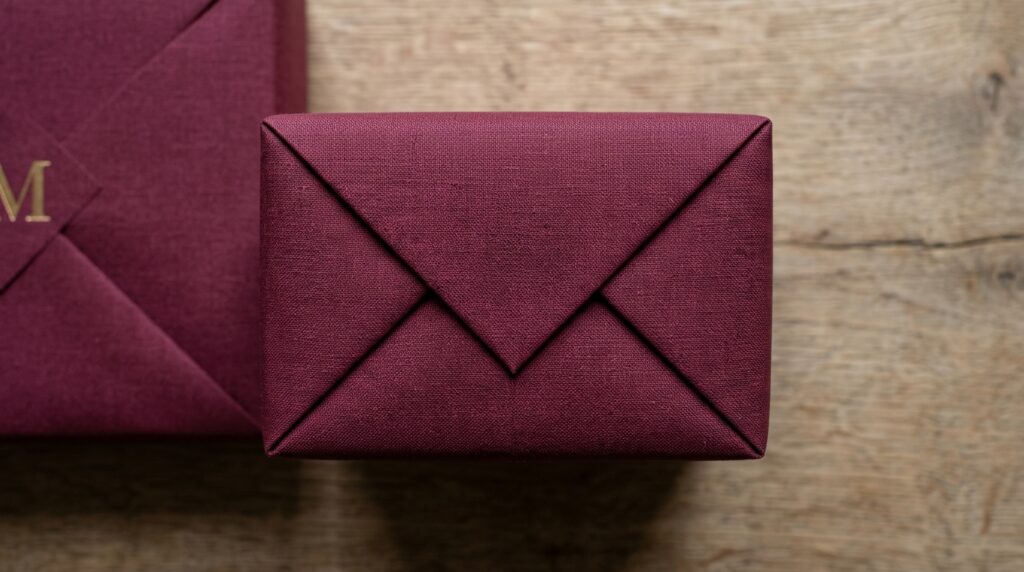
The sides of the gift are usually where things fall apart. Pros avoid the “crumple and tape” method at all costs. The goal is to create crisp triangles that meet perfectly in the center.
- The Technique: Push the top flap down against the side of the box, creating two pointed wings on the sides. Crease those wings at a sharp 45-degree angle, fold them inward, and then pull the bottom flap up.
- The Pro Secret: Always pull the bottom flap up and the top flap down. This ensures the “seam” is on the bottom of the box’s side, keeping the top face of the gift looking flawless and uninterrupted.
5. Master the “Swallowtail” Ribbon Finish
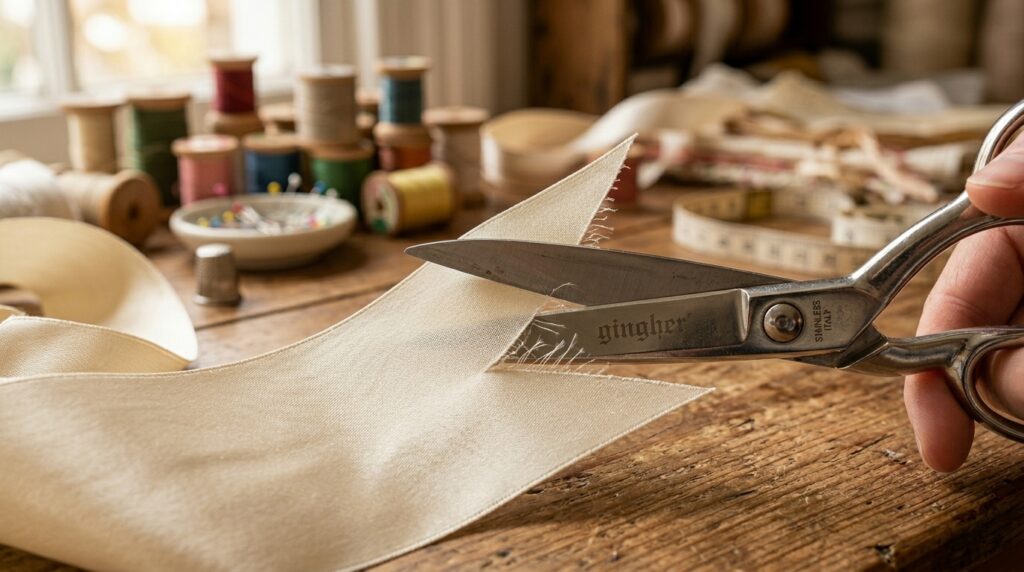
Nothing looks sadder than a beautiful ribbon with a frayed, straight-cut end. Professionals always finish their ribbons with a “V” cut, also known as a swallowtail or chevron cut.
- The Technique: Fold the end of your ribbon in half lengthwise, then cut at an upward angle toward the outer edges (away from the fold). When you unfold it, you’ll have a perfect, symmetrical “V.”
- The Pro Secret: If using fabric ribbon (like satin or grosgrain), pass the very edge of the cut tail quickly over a lighter flame. This “seals” the fibers so they will never fray, keeping the gift looking fresh for weeks under a tree.
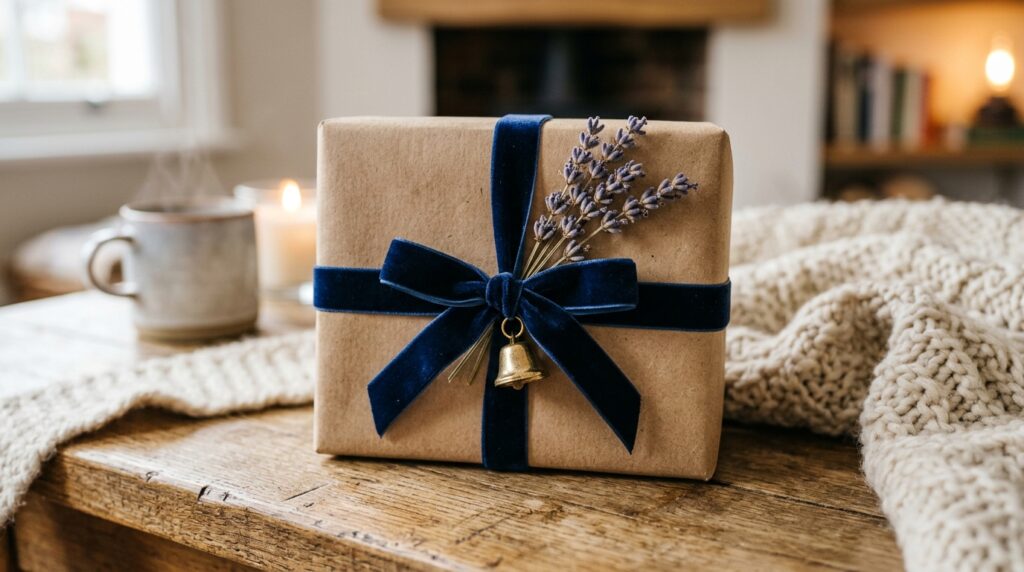
6. Add a “Third Element” for Texture
A box and a bow are standard. A pro gift has a third element that adds depth, organic beauty, and a personal touch. This is the difference between a “store-bought” look and a “boutique” look.
- The Technique: Before finishing your ribbon knot, slide in a “topper” that complements the color palette.
- Ideas: A sprig of dried eucalyptus, a cinnamon stick, a vintage brass bell, a personalized wooden tag, or even a small dried orange slice.
- The Pro Secret: Contrast your textures. If you use shiny, metallic paper, use a matte cotton ribbon and a natural wooden element. If you use plain brown Kraft paper, use a luxurious velvet ribbon. This play between rough and smooth is the hallmark of professional design.